
Floating Magnetic Attraction Experiment

School may be back in session but that doesn’t mean the learning has to stop when the bell rings. Our latest DIY project is a fun way for your child’s mind to stay engaged once they get home while also helping them grasp the basics of magnetic attraction.
Safety note: Neodymium magnets are not toys and are intended for adults 18 and older. Any project that uses neodymium magnets should be done only under the direct supervision of an adult, and the magnets should be kept away from young children and pets. If two or more magnets, or a magnet and a metal object, are swallowed, they can pull together through the intestinal walls and cause serious injury. Get emergency medical care right away if you suspect a magnet has been swallowed.
Supplies
We love how inexpensive this project is. Not only is this experiment budget-friendly, but you may also have the majority of these supplies in your junk drawer or home office. During the project, two stencils wrapped around a paper clip will “float” toward a magnet. We recommend printing a stencil of something that floats or is typically spotted in the air like a balloon, star, leaf, etc. The color of tissue paper you purchase will vary depending on which design you choose. For your magnet needs, be sure to visit our online store. We also offer same-day shipping on all orders placed by 3 PM ET. You will need:- Glue stick
- String
- Scotch tape
- Stencil
- Ruler
- Tissue paper
- Scissors
- Paper clip
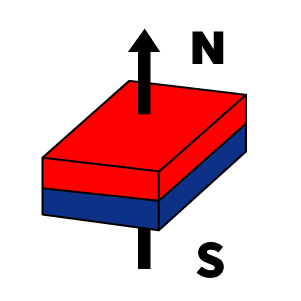
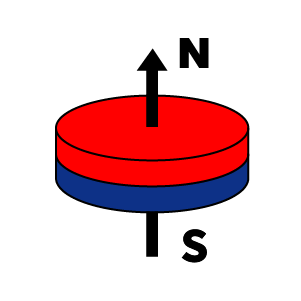
- Block or disc magnet (½”x1/4”x1/8” block or ½”x1/8” disc)
Steps
This experiment is very straightforward, making it perfect for your young student! While they can conduct the experiment themselves, we recommend that parents are present at all times since magnets are not toys. Follow these instructions:- Print out two copies of the stencil your child chose and then cut them out.
- Cut your string so it is about a foot long and then tie one end to the bottom of your paper clip.
- Glue the paper clip to the middle of one of the stencil cutouts.
- Once dry, glue your second stencil and place it on top of the paper clip. Gently press down so the paper clip is secure between the two stencils.
- Tape the opposite end of your string to your table or a flat surface.
- Hold your magnet a few inches above the stencil and watch as it floats upwards! If you have trouble getting started, hold the stencil in the air and place the magnet right above it.
- Have your child try this with different-sized magnets to see how long they can get the design to stay in the air.
Keep Experimenting with Apex
If you would like to continue teaching your kids about the properties of magnetism, just take a look at some of our other DIY blogs. We have experiments, DIY projects, and more for everyone to enjoy. If you have any questions, feel free to reach out to our friendly team! We would be happy to offer advice and get you on the right track. Just give us a call at 1-304-257-1193.
Related Products
-
1/2 x 1/4 x 1/8 Inch Neodymium Block Magnet N48 (10 Pack)

- 10 magnets
- Pull Force: 5.43 pounds per magnet
- SKU# M12x14x18BL
 $10.99 As low as $7.69
-
1/2 x 1/8 Inch Neodymium Disc Magnet N48 (10 Pack)

- 10 magnets
- Pull Force: 7.28 pounds per magnet
- SKU# M12X18DI
 $10.99 As low as $7.69