DIY Mousetrap Magnet Clip

If you like thinking outside the box, you are going to enjoy this week’s craft. While some may struggle to see uses for a mousetrap aside from their typical role, we see the opportunity to create a magnetic clip for receipts, reminders, coupons, and more. You can even pick a theme for each clip you make, including sports, food, movie characters, and more. Let’s see how you can create yours!
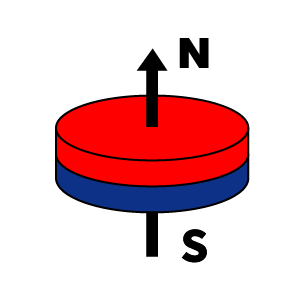
Safety note: Neodymium magnets are not toys and are intended for adults 18 and older. Any project that uses neodymium magnets should be done only under the direct supervision of an adult, and the magnets should be kept away from young children and pets. If two or more magnets, or a magnet and a metal object, are swallowed, they can pull together through the intestinal walls and cause serious injury. Get emergency medical care right away if you suspect a magnet has been swallowed.
Supplies
Purchase your magnets on our online store. All magnets necessary to complete this project are linked in the full supply list below. We offer same-day shipping if your order is placed by 3 PM ET, allowing you to start creating as soon as possible. All other supplies can be purchased at your favorite craft store. Gather these supplies:- Acrylic paint in a few colors of your choosing
- Wooden mouse traps
- Matte Mod Podge
- Foam brush
- Paintbrush
- Stickers, gems, string, or other embellishments that match your chosen theme.
- Disc magnets (1” x 1/16”)
- Crafting glue
- Pliers
Creating Your Mousetrap Magnet Clip
This project should be completed by an adult or someone who is at least of high school age with adult supervision. Parts of the trap will be removed, but the spring and hammer can still pinch a young child’s finger. Have your kids tell you how they would like the clips to be decorated and then bring their ideas to life. Follow these simple steps to create your project:- Gather all materials and decide how you want to decorate each magnet.
- Remove everything from the mousetrap aside from the spring and the hammer (the large U-shaped piece connected to the spring that would usually come down on the mouse) with pliers.
- Paint each mousetrap with the color(s) you have selected. It may take two or three coats to cover the wood and logos on each trap fully. Be sure to wait for each coat to dry before adding the next layer.
- Flip over your mousetraps and glue one disc magnet on the back. Let it dry.
- After everything has dried, you can decorate your mousetraps. Place some stickers on each trap or glue on gems and other embellishments.
- If you would like, you can give the clips a nice finish by applying a coat of Matte Mod Podge with a foam brush.
- With everything dry, you can pull back on the hammer of the mousetrap and use it as a clip to hold papers and other items! Place them in your office, on the fridge, or wherever you see fit.
Get in Your Groove with Apex Magnets
With your new magnetic clips done, it is time to see what other fun projects you can create with our magnets. Find your next project by visiting our full list of blogs or by watching our full YouTube tutorials. As your magnetic solutions provider, we are here to help you with product recommendations, custom magnet orders, and more. Speak with us at any time by calling 1-304-257-1193. One of our magnet enthusiasts would be happy to speak with you.
Related Products
-
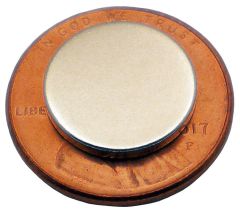
1 x 1/16 Inch Neodymium Disc Magnet N48 (4 Pack)

- 4 magnets
- Pull Force: 7.69 pounds per magnet
- SKU# M1X16DI
 $11.99 As low as $8.39
-
3/4 x 1/8 Inch Adhesive Backed Neodymium Disc Magnet N48 (10 Pack)
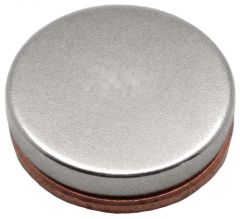
- 10 magnets
- Pull Force: 11.1 pounds per magnet
- SKU# M34X18ADH
$14.99 As low as $10.49 -
1/2 x 1/16 Inch Adhesive Backed Neodymium Disc Magnet N48 (20 Pack)
- 20 magnets
- Pull Force: 3.51 pounds per magnet
- SKU# M12X116ADH
$9.99 As low as $6.99